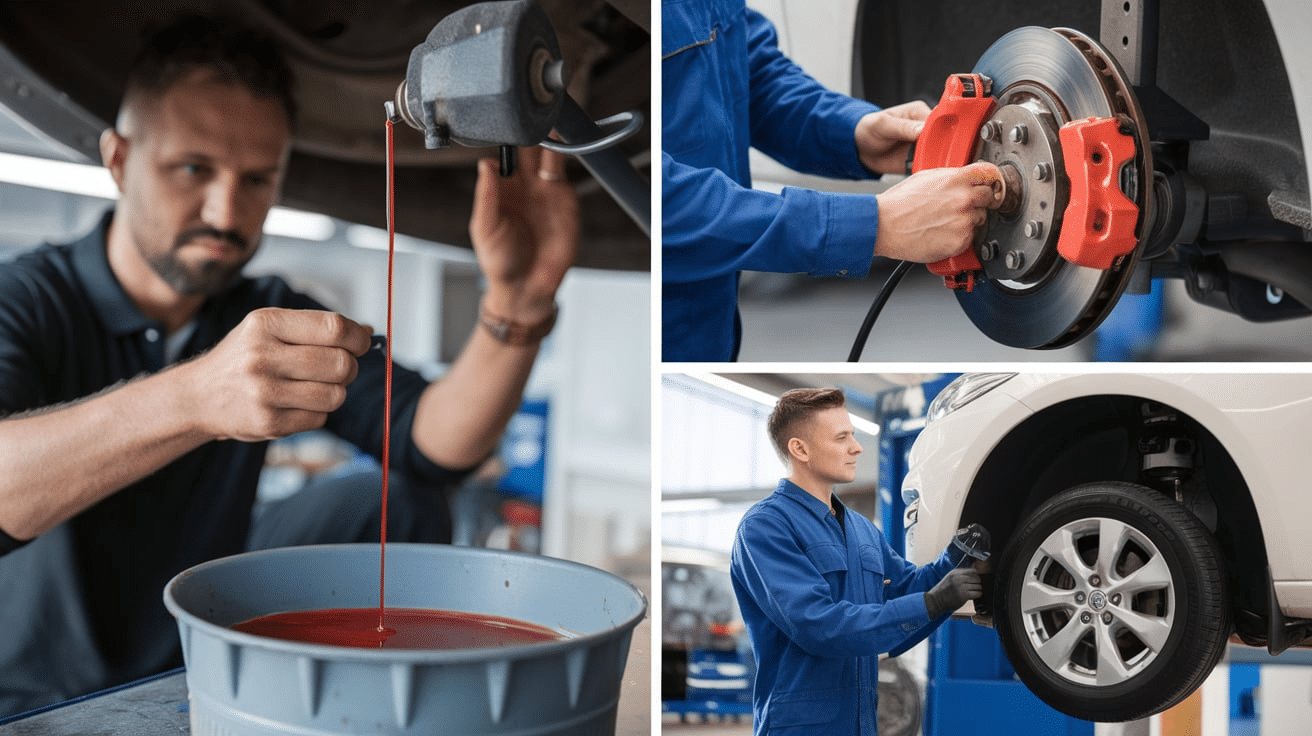
How to Bleed Car Brakes—DIY Guide to Safer Stopping
Safety depends on how well your car's braking system is maintained. If your brake pedal feels soft or spongy, or if your car takes longer to stop, it may be time to bleed the brakes. This essential process removes trapped air from your brake lines, ensuring maximum braking performance. Whether you're a seasoned DIYer or a first-time car owner, learning how to bleed car brakes at home can save you money and keep your vehicle safe on the road.
We will demonstrate to you how to effectively bleed car brakes with simple tools in this step-by-step guide. Let’s dive into the what, why, and how of brake bleeding.
https://autovibezone.blogspot.com/2025/06/toyota-land-cruiser-2025-vs-2024-whats.html
🚨 What Does “Bleeding Brakes” Mean?
Brake systems rely on hydraulic pressure to function. When you press the brake pedal, fluid moves through the brake lines, activating the calipers or drum brakes. If air enters the system (due to wear, leaks, or during a brake job), it compresses under pressure—unlike brake fluid—causing a soft or unresponsive brake pedal.
Bleeding brakes means removing this trapped air to restore full braking power. This ensures your brake pedal feels firm and your stopping distance remains short.
🛠️ Signs Your Brakes Need Bleeding
Soft or spongy brake pedal
The brake pedal goes to the floor.
increased distance between stops Recent caliper or brake line replacement Brake fluid appears dark or dirty.
Dashboard brake warning light (in some vehicles)
🔧 Tools & Materials Needed
To bleed brakes at home, gather the following items:
Brake fluid (check your owner’s manual for the correct type—DOT 3, DOT 4, or DOT 5)
Wrench (usually 8 mm or 10 mm for bleeder screws)
Clear plastic tubing (around 12–18 inches)
Empty plastic bottle or brake bleeding catch can
Jack and jack stands
Wheel wrench
Safety gloves and goggles
A friend or helper (for the two-person method)
🧼 Safety First!
Before starting:
Park the car on a level surface.
Engage the parking brake.
Wear gloves and eye protection.
Never reuse old brake fluid.
Do not let brake fluid touch car paint (it’s highly corrosive).
The Two-Person Method of Bleeding Car Brakes:
A Step-by-Step Guide to Locating the Master Cylinder in
Step 1: Open the hood and find the brake.
master cylinder reservoir (usually on the driver’s side near the firewall). Remove the cap and ensure it's filled with fresh brake fluid. Do not let it run dry during the bleeding process—refill as needed.
Step 2: Start with the Farthest Wheel
Begin bleeding from the wheel farthest from the master cylinder:
Rear passenger side
Rear driver's side
Front passenger side
Front driver side
This sequence helps push all air out of the system.
Step 3: Jack Up the Car and Remove the Wheel
Use a jack and jack stands to safely lift the car. Remove the wheel to access the brake caliper.
Attach the bleeder hose in
Step 4 Place one end of the clear
tubing onto the bleeder screw on the brake caliper. Put the other end into a plastic bottle with a small amount of brake fluid. This prevents air from getting sucked back in.
Step 5: Pump and Hold the Brake Pedal
Ask your assistant to press the brake pedal 3-5 times.
Hold it down firmly.
While they hold the pedal, you:
Step 6: Open the Bleeder Valve
Loosen the bleeder screw (¼ turn).
Watch fluid and air bubbles flow into the tubing.
Close the valve before your helper releases the pedal.
Repeat this process until no more air bubbles are seen and the fluid runs clear. It usually takes 4–6 cycles per wheel.
Step 7: Refill the Master Cylinder
After each wheel, check the fluid level and top off with new brake fluid. Never let it go below the “MIN” mark.
Step 8: Repeat for All Wheels
Follow the correct order: rear passenger, rear driver, front passenger, front driver.
Step 9: Reinstall Wheels and Lower the Vehicle
Once all brakes are bled, reinstall the wheels and safely lower the vehicle.
✅ After Bleeding: Test Your Brakes
Press the brake pedal—it should feel firm, not soft.
Check the brake fluid level again and secure the reservoir cap.
Start the vehicle and take a cautious test drive in a safe location. Listen for odd noises or pedal softness. If something feels off, repeat the bleeding process or consult a mechanic.
🧠 Pro Tips for Brake Bleeding
Always use fresh brake fluid from a sealed container.
Don’t overtighten bleeder screws (you could strip them).
Clean the bleeder screw area before and after the job.
If working solo, use a brake bleeder kit or vacuum pump.
Check brake lines for leaks if the pedal still feels soft.
❓ FAQs About Bleeding Brakes
How often should I bleed my brakes?
Typically, every 2–3 years, or when you replace brake components or notice performance issues.
Can I drive if there’s air in my brake lines?
No. Air reduces hydraulic pressure, making brakes unreliable and unsafe.
What if my brake fluid is black?
Dark fluid means it’s old or contaminated—flush and replace it immediately.
🏁 Final Thoughts
Bleeding your car's brakes might sound intimidating, but you can do it yourself with the right tools and clear instructions. A properly bled brake system means faster stops, safer driving, and better control on the road.

